
Walking a route#
Walking a route is the game's main mode: you go from stop to stop while the app keeps the order, suggests the direction and counts your progress. You can have only one route active at a time.
Walking a route step by step#
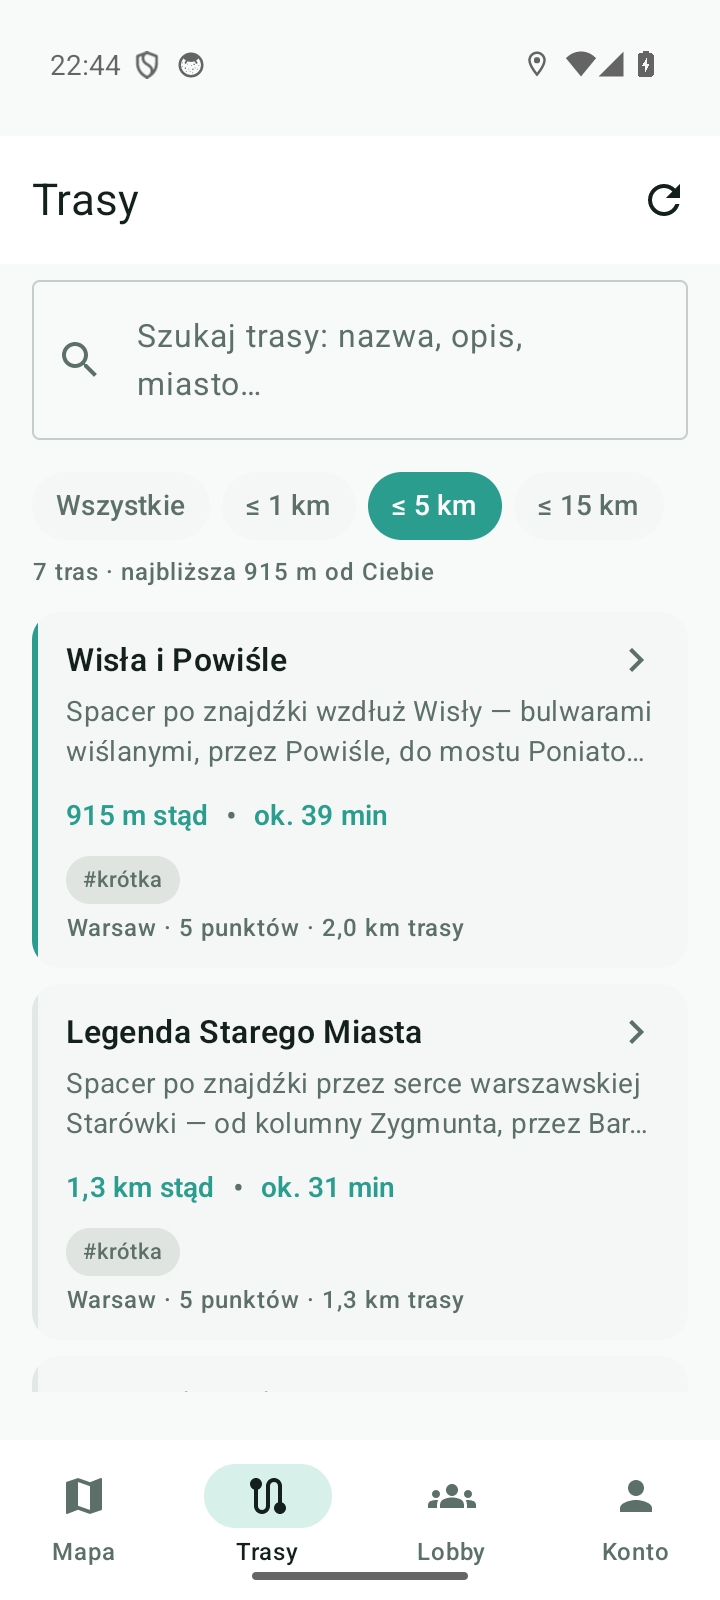
- Pick a route. On the map tap a marker with a flag, or open the Routes tab and pick a route from the list. The route panel opens with the description, the number of stops, the distance and the estimated time.
- Get to the start. The Start route button stays inactive until you are on site — under it you will then see the hint “Start route appears when you're at the start point”. Tap Navigate to have the approach drawn (Navigation).
- Tap Start route. The run begins, and the first stop completes right away — you are already there.
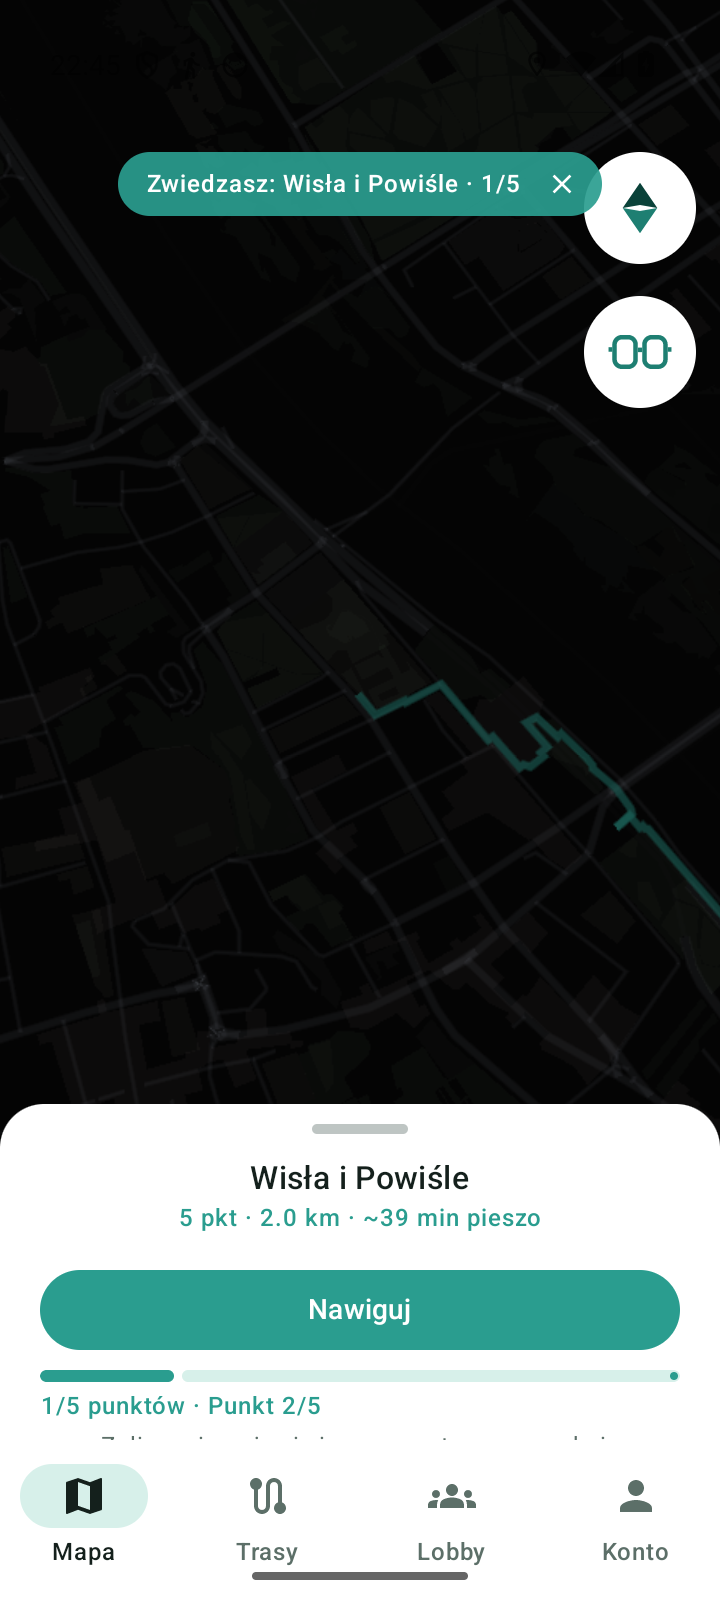
- Set off. A chip appears at the top of the map: Exploring: route name · 2/6. Tapping the chip opens the route panel, and the X on the chip ends the tour (with a confirmation).
- Walk to the next stops. The order is enforced: the next stop unlocks once you have completed the previous one. The panel shows where to go now, how far it is and how the stop is completed.
- The finish. Completing the last stop ends the route: the message Route completed! appears, your route and kilometre counters go up, and the trip is saved to your history (Account and profile).
The start radius is 45 metres by default — the same value applies to stops, unless the route's author set a custom radius for a stop. If you are right next to it and the button is still inactive, wait for a fresh position (GPS pill: GPS and location accuracy).
The “you are still exploring” notification#
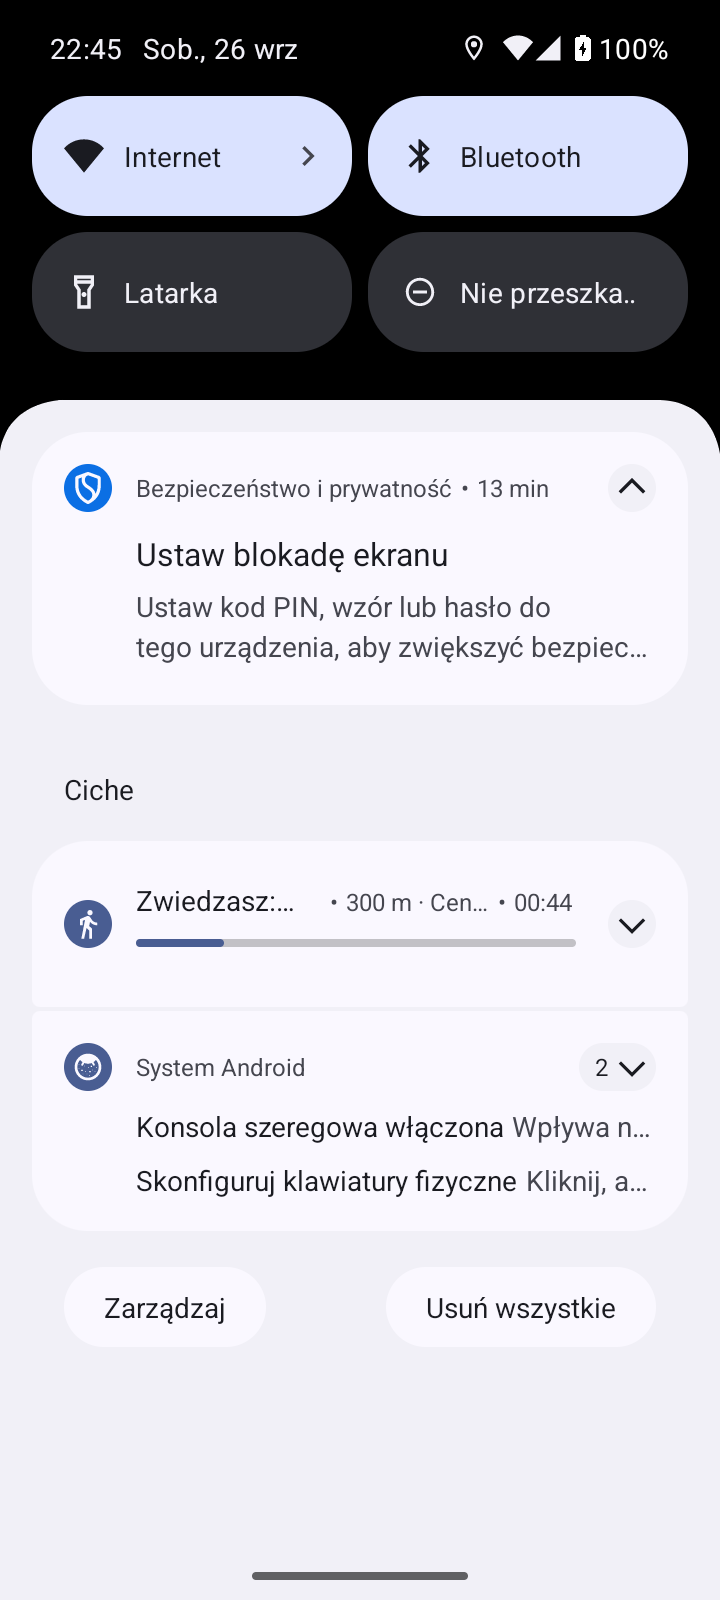
The tour carries on even when you put the app in your pocket. A bar appears in the system drawer with:
- the route name (Exploring: …),
- the distance to the next stop,
- a timer counting from the start,
- progress (e.g. “3 of 6 stops completed”),
- an End tour button that ends the run with the same function as the panel on the map.
When you come up to a stop, the bar reminds you: “You're at a stop — complete it in the app!”. Completing a stop is confirmed by a short vibration. The bar goes away when the tour ends.
The route panel — what is in it#
| Element | What it shows |
|---|---|
| Name and description | the route title and a few sentences about what you will see |
| Stops | the number of stops (e.g. “6 points”) and the stop list — Browse stops (6) |
| Distance and time | the length of the route and the estimated time for the selected travel mode |
| Navigate | works out the approach to the start |
| Start route | active only at the start point |
| Share | sends a link to the route in a message (“I'm walking “…” in Fyndi”) |
| Abandon route / End tour | ends the run when you are already exploring |
Ending before the finish#
Ending early is perfectly fine and costs you nothing — the route is marked as abandoned.
- Tap the X on the Exploring chip or End tour in the route panel.
- Confirm in the End the route? window with End (or go back with Back).
- You will see the message Route abandoned; the stops you completed earlier stay in the journal, but the route does not count as completed.
- You can start the same route from scratch at any time — from the first stop.
Documented for app version 0.120.1 (updated 2026-09-26).
Machine translation — the Polish version prevails.